Setting up the Community One bot helps you turn community questions and engagement into actionable, measurable insights. In this guide, you’ll follow the same workflow shown in the video: sign up via an invite link, configure email updates, test and deploy Spark, then set up Community Analytics.
Sign up and activate the Community One bot
To begin, join the Community One bot using an invite link. Once you’ve entered the sign-up flow, you’ll be prompted to provide an email address. This email is used to receive community updates, insights, and a weekly report.
After activation, you’ll see the bot’s main options: Spark and Analytics.
Configure email for community updates and reports
During setup, enter your email address so the bot can send you community updates and insights, including a weekly community report. This step ensures you receive the reporting output generated by the bot once dashboards are ready.
Understand Spark (what it does)
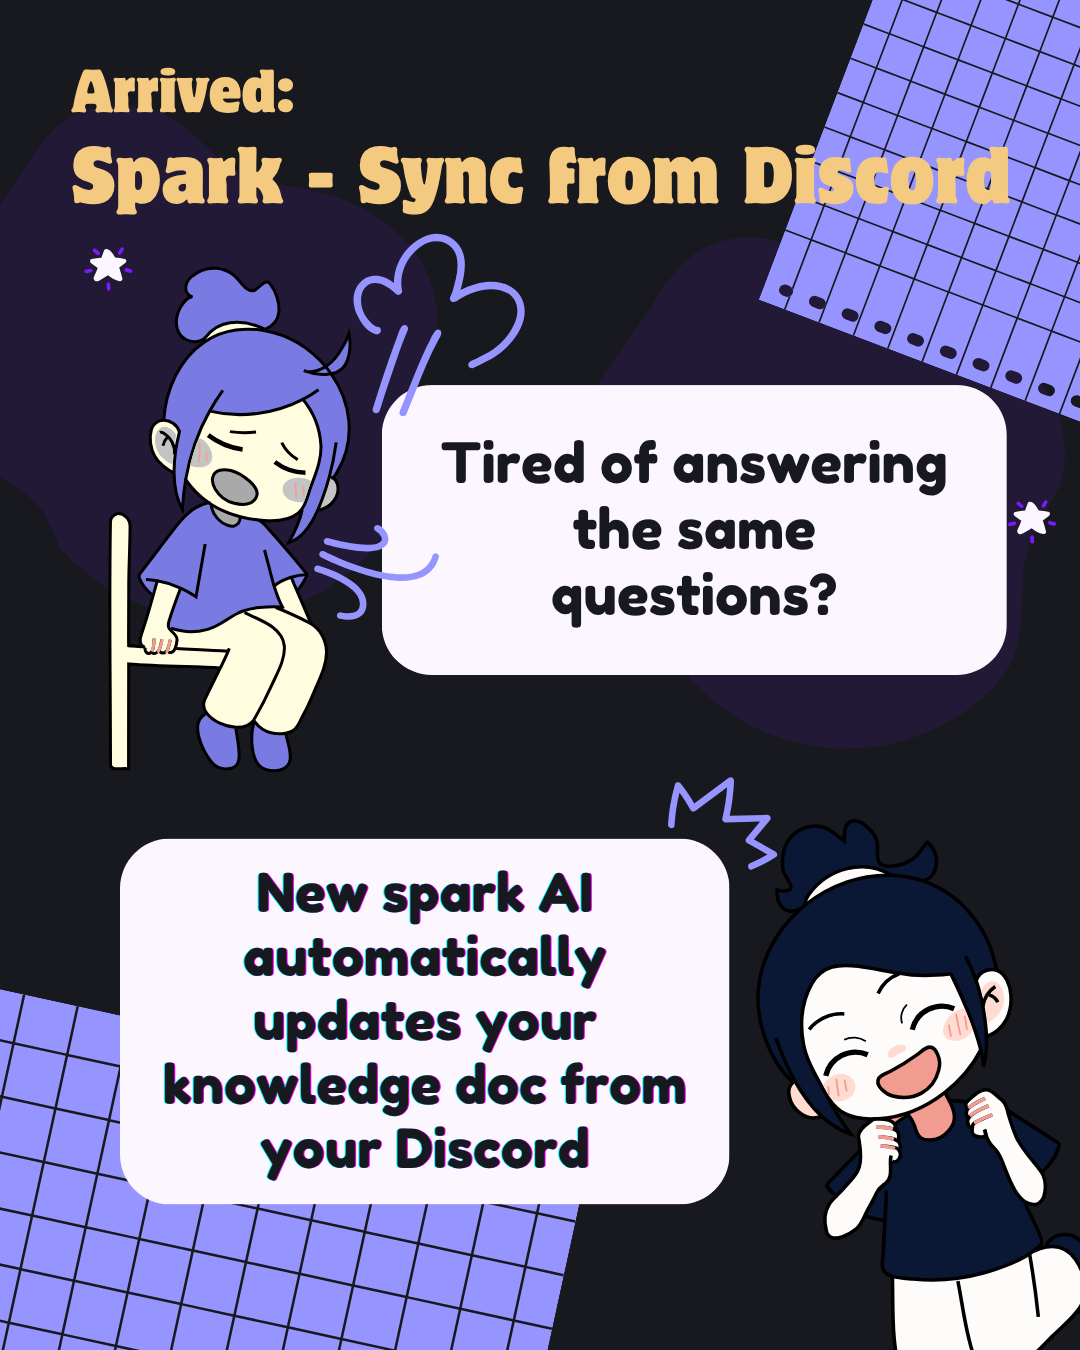
Spark is the feature you’ll use to support day-to-day community interactions. In the video, Spark is described as performing actions like wiping paper and answering member questions.
Before deploying Spark, the video emphasizes testing your content/document first to confirm the bot behaves as expected.
Test Spark with your document
The video walkthrough recommends testing Spark using a Spark test command.
Key points from the video:
- Use .txt documents for Spark testing.
- The supported test size is up to about 2000 words.
After you run the Spark test command, validate the results by using the test channel. The transcript summary notes that you can confirm the test spots respond correctly by asking a question in that test channel (for example, asking “what is community one”).
Validate results in the test channel
Testing isn’t only about running the command—it’s also about confirming that the test output behaves correctly.
Once the test completes:
- Ask a question in the test channel.
- Confirm the relevant “test spots” respond as expected.
If the responses aren’t correct, you’ll want to revisit the document you tested before moving on to deployment.
Deploy Spark
When you’re confident the document test is working, deploy Spark.
From the video workflow, deployment is done using the Spark deploy step (described as “Spark and deploy”). You can also optionally limit Spark to a specific channel, so Spark listens for messages only in the channel you choose.
Set up Community Analytics
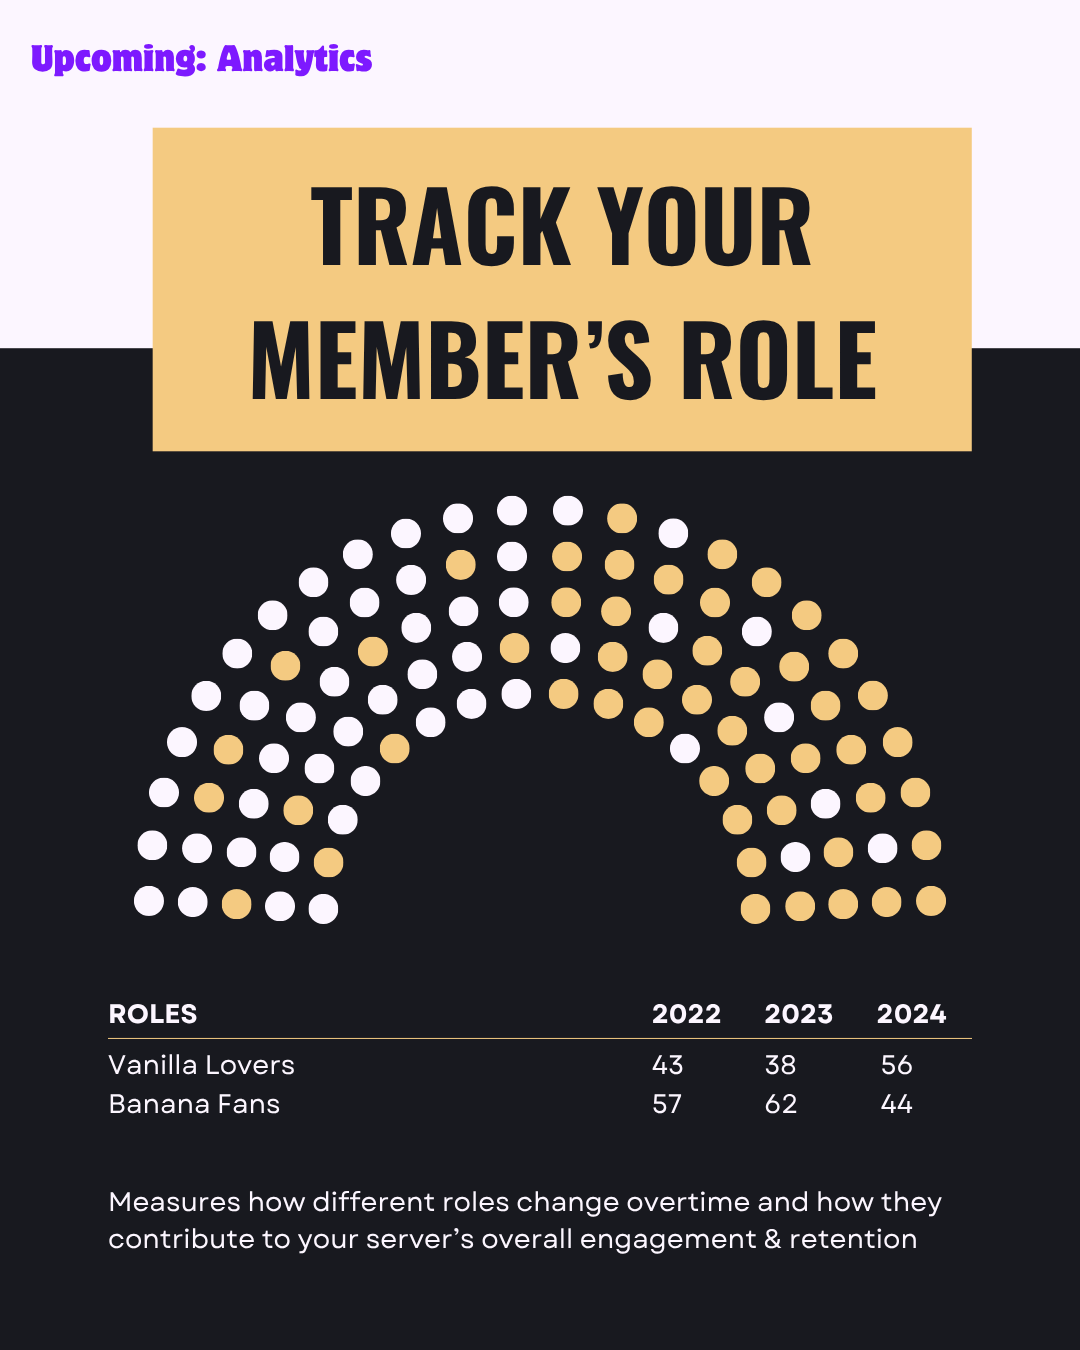
After Spark is deployed, the next step is configuring Community Analytics.
In the video flow, you select Analytics and complete a setup that includes two parts:
1. Choose channels to track
2. Specify moderators to track
These choices determine what the Analytics dashboard covers—i.e., which community spaces and moderators are included in the insights.
Receive the analytics dashboard by email
Once the Analytics setup is complete, the bot generates an analytics dashboard.
The transcript summary highlights that the bot will email the dashboard when it’s ready. This matches the earlier sign-up step where you entered your email address to receive community updates, insights, and reporting.
Conclusion
To set up the Community One bot successfully, follow the same sequence as the video: join via an invite link, enter your email for reporting, test your Spark document using the Spark test command, confirm behavior in the test channel, deploy Spark (optionally to a specific channel), then configure Community Analytics by selecting tracked channels and moderators. When Analytics finishes, you’ll receive the dashboard by email.