Setting up a Community One bot is a straightforward workflow: sign up, enable Spark and Analytics, test your Spark configuration, deploy the bot to a channel, and then turn on Analytics so you can generate an email dashboard.
This guide walks through that exact sequence based on the video.
Overview: Community One Bot with Spark + Analytics
The Community One bot setup combines two core capabilities:
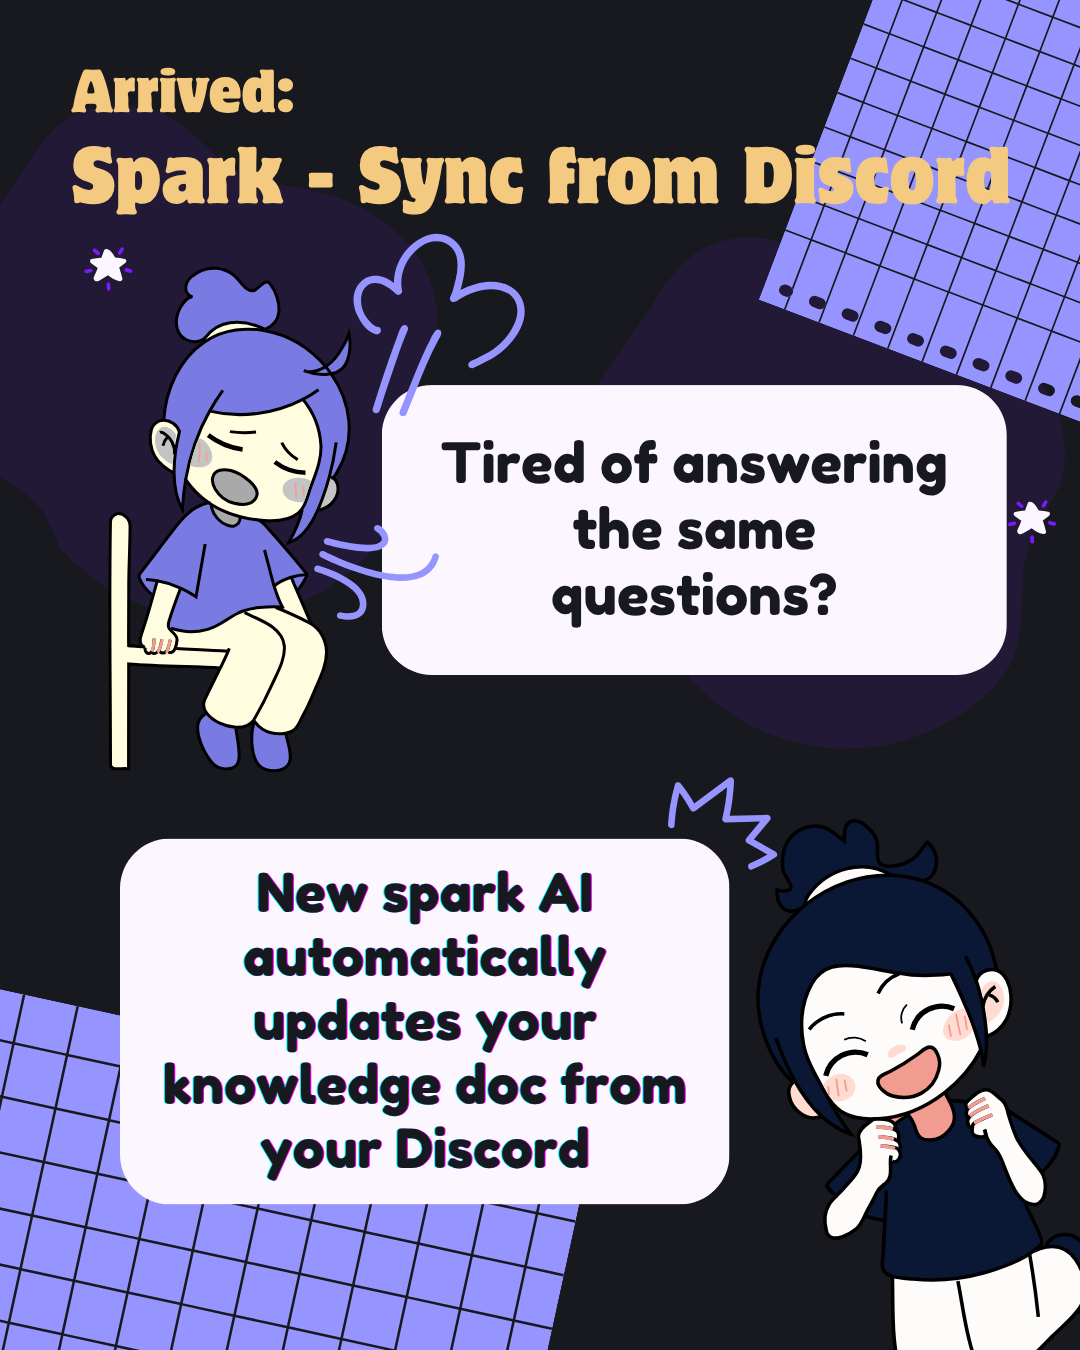
- Spark: the bot functionality that enables actions such as rewriting papers and answering member questions.
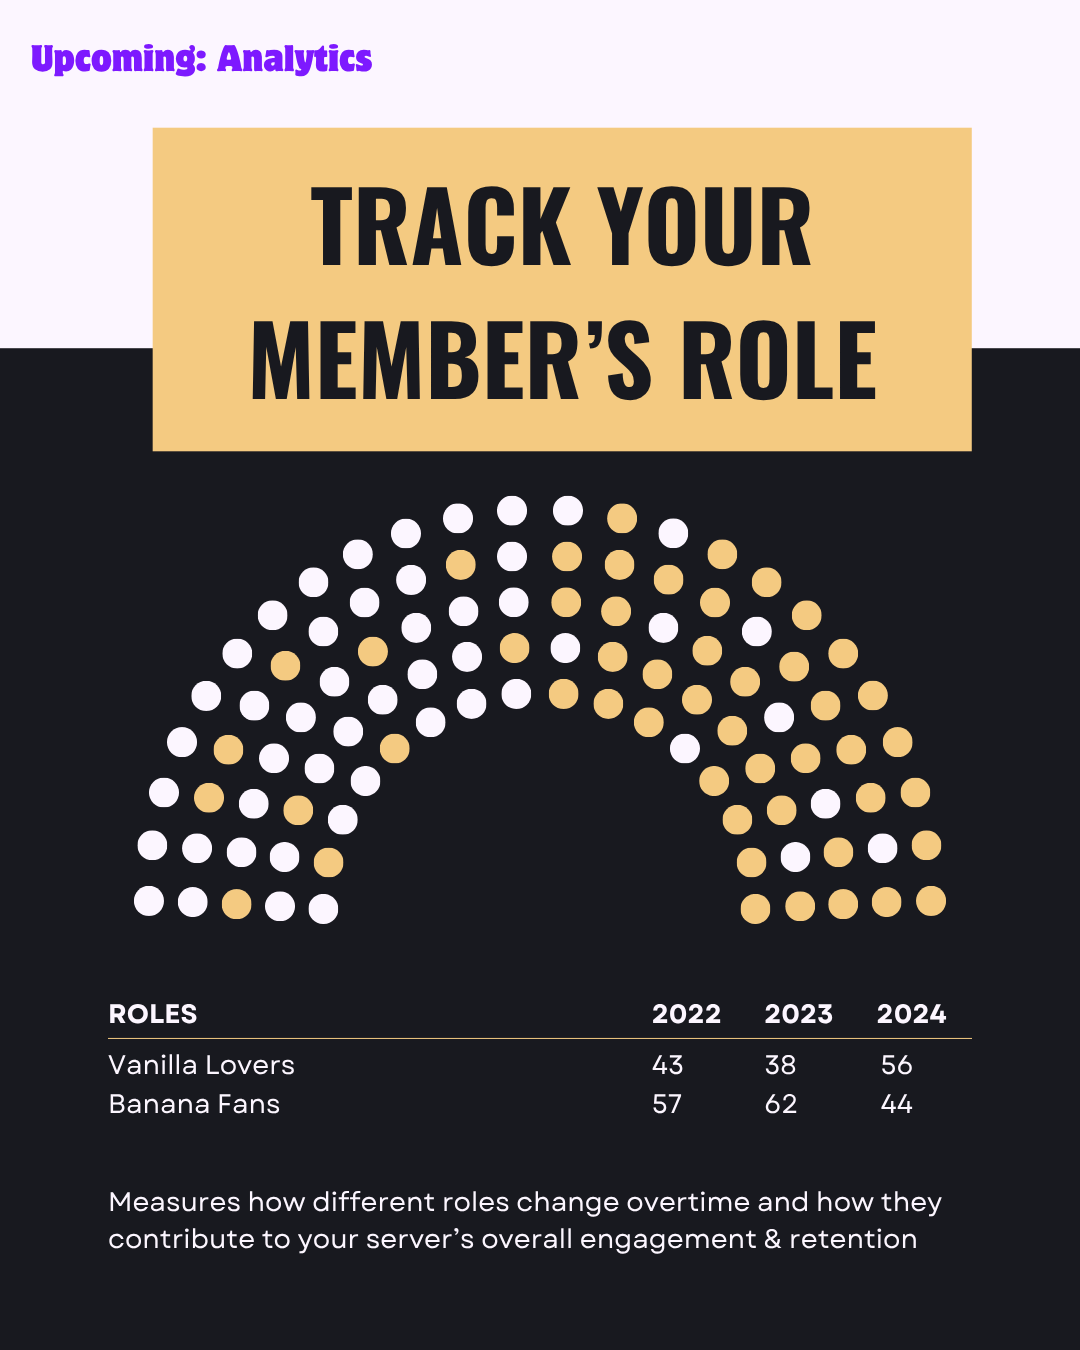
- Analytics: a setup that tracks engagement and effectiveness, generates a dashboard, and sends it by email.
After you join the server using the provided link and complete sign-up, you’ll see two buttons—Spark and Analytics—that represent these parts of the setup.
Step 1: Join and sign up with email
To begin:
1. Join your server using the provided link.
2. Sign up with an email address.
The sign-up is used to receive community updates and weekly reports.
Once activated, you’ll be ready to choose between Spark and Analytics.
Step 2: Enable Spark for automated bot actions
Click Spark to enable the Spark portion of the Community One bot. Spark is described as automatically allowing actions like:
- Rewriting papers
- Answering member questions
At this point, you’re building the capability that will later be tested and then deployed.
Step 3: Test Spark before going live
Before you deploy, the next step is to test your setup using the Spark test process.
Run the Spark test command
The video instructs you to:
1. Run the Spark test command.
2. Attach a .txt document.
The attached document is described as being up to roughly 2000 words.
Use the test channel to confirm responses
After you trigger testing, use the test channel to verify the bot’s behavior.
In the test channel, ask basic questions (for example, what “Community One” is) and confirm that the bot responds correctly.
Step 4: Deploy with Spark deploy (configure one bot channel)
Once Spark testing looks good, deploy the bot.
Run Spark deploy
The video describes deployment as:
1. Run Spark deploy.
2. Select one channel for the bot to listen to messages.
This “one channel” configuration is how the bot is connected to your community where members will interact.
Step 5: Set up Community Analytics for reporting
After deployment, click Analytics to complete the Analytics setup.
Complete the two-step Analytics setup
The video describes Analytics as a two-step process. When completed, Analytics provides:
- Data insights related to community engagement
- Tracking that ranges from team-related information to how you engage your community
- Signals related to the bot and bot-detection
Generate and send an email dashboard
With Analytics enabled, the system:
- Generates a dashboard automatically
- Sends the dashboard by email
The setup also includes channel and moderator tracking, allowing you to monitor who’s managing your community.
Conclusion
To set up your Community One bot effectively, follow this workflow: join and sign up with email, enable Spark and Analytics, test Spark using the Spark test command with a .txt document in the test channel, then deploy with Spark deploy by choosing one channel, and finally enable Analytics so you can generate an email dashboard with engagement and moderator-tracking insights.