How to Set Up the Community One Bot (Spark + Analytics): Test, Deploy, and Track
Summary
Follow this step-by-step guide to set up the Community One bot with Spark + Analytics: join, activate, test your document, deploy to one channel, and configure Analytics dashboard tracking.
Setting up a community bot doesn’t have to be complicated—especially when you use the Community One bot with Spark + Analytics. This guide walks through the setup flow from signup to activation, shows how to test your knowledge document, then explains how to deploy the bot and configure analytics tracking.
What the Community One Bot does (Spark + Analytics)
The Community One bot combines Spark and Analytics in one workflow.
After activation, you’ll see two key options:
- Spark: for auto-replies and answering member questions.
- Analytics: for engagement and effectiveness insights.
The bot also uses your email for community updates, community insights, and a weekly community report.
Activation after joining via server link
The setup starts with joining using a server link. After you join, you sign up using your email.
Once you sign up, you activate the bot. At that point, you can move into the Spark and Analytics steps described below.
Spark vs Analytics: what each button enables
When the bot is activated, you interact with two features:
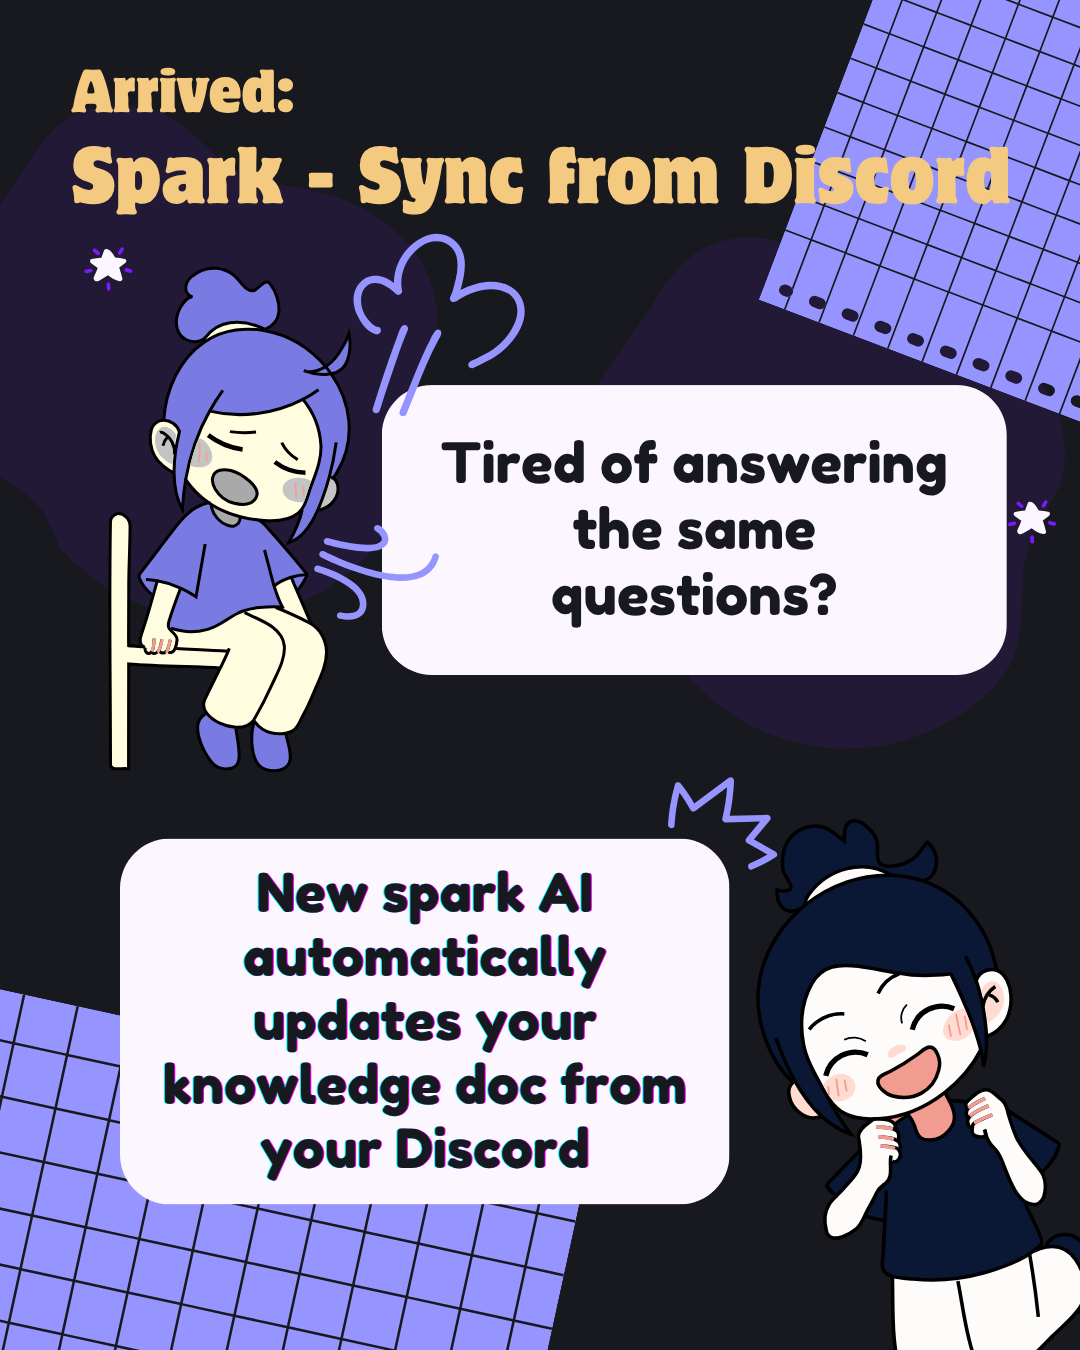
Spark (auto-replies and member questions)
Spark is the part of the bot that uses your provided content so it can respond to community questions with auto-replies and help answer member questions.
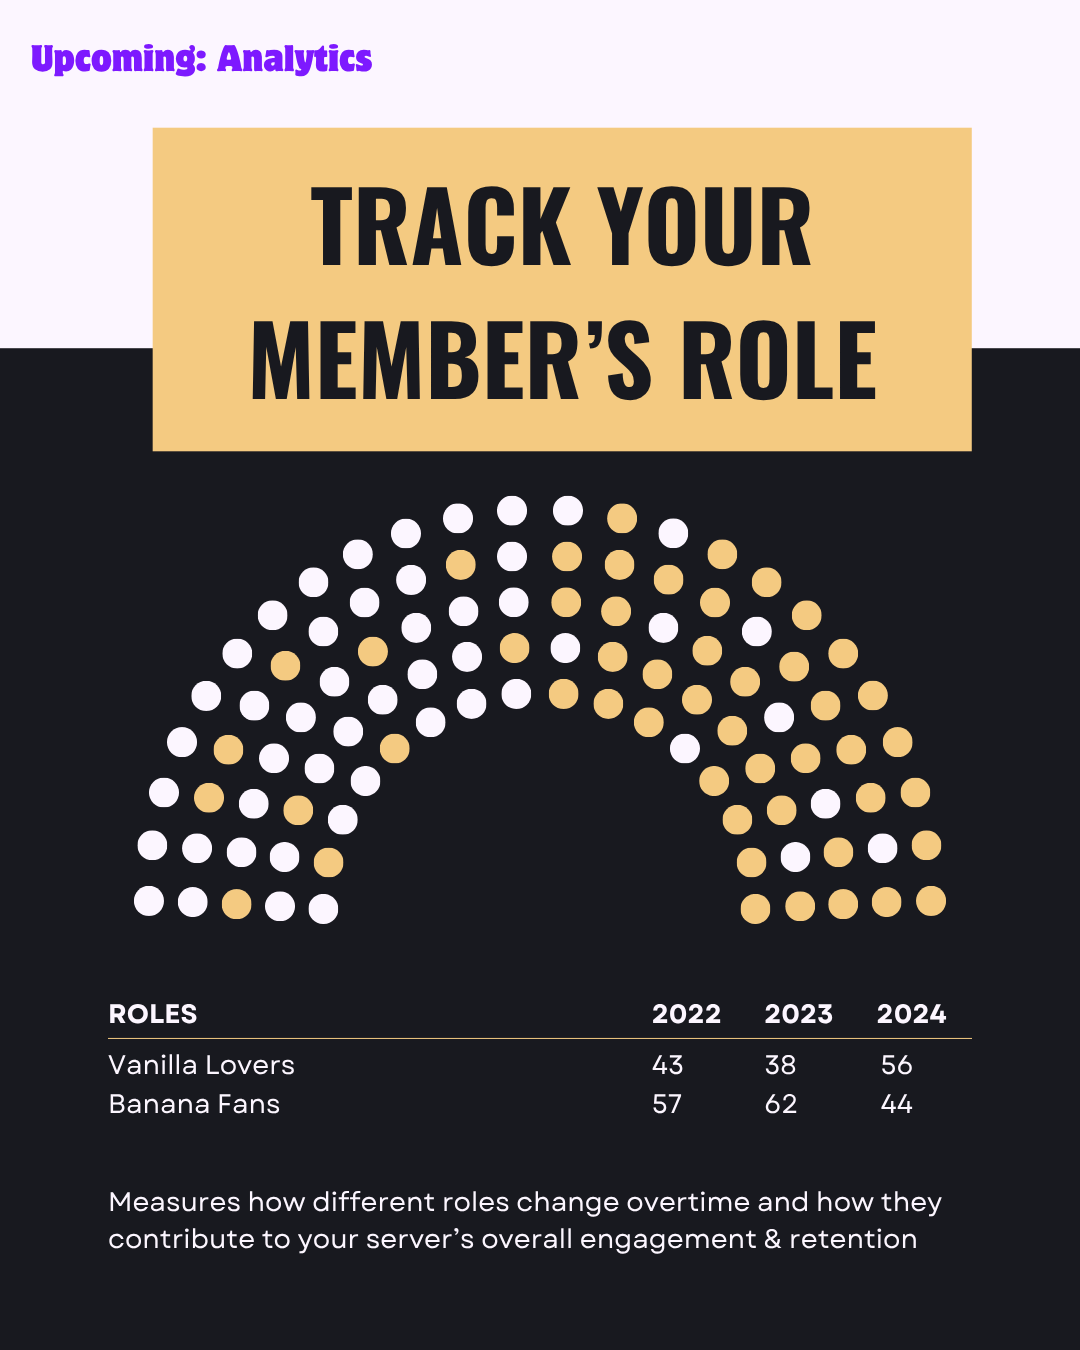
Analytics (engagement and effectiveness insights)
Analytics focuses on tracking outcomes and performance. After you set it up, Spark can generate a dashboard once enough data is collected and send you updates by email.
Testing your document with Spark test flow
Before you deploy the bot to a real channel, the video shows you should test your document using the Spark test flow.
Key points from the transcript summary:
- You test your content to ensure Spark produces the responses you expect.
- The test flow supports .txt files, and suggests testing with content up to about 2000 words.
Verify in the test channel
After the Spark test is ready, you verify it in the test channel by asking what “community one” is.
You’re looking for confirmation that the expected test responses appear.
Deploying Spark to a real channel (Spark deploy)
When you’re satisfied with your Spark test, you move to deployment.
The video outlines deploying using Spark deploy. The transcript summary highlights an important difference from testing:
- In deploy, you provide one channel that Spark will automatically listen to.
Once deployed, the bot is no longer limited to the test flow—Spark will respond in the channel you specified.
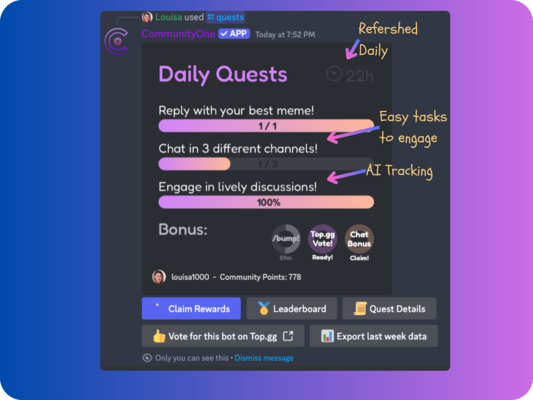
Setting up Community Analytics dashboard tracking and email updates
After deployment, you configure Community Analytics.
The setup is described as a two-step process:
1. Configure tracked channels.
2. Configure moderators.
Once you complete the two-step setup and enough dashboard data is collected, Spark generates the dashboard and sends it to you by email when ready.
Conclusion
To set up the Community One bot with Spark + Analytics, you join via the server link, sign up with your email, activate the bot, then:
1. Test your document using the Spark test flow.
2. Verify the bot in the test channel.
3. Deploy using Spark deploy to a single channel.
4. Configure Community Analytics tracking (channels + moderators) so you can receive dashboard updates by email.