Setting up the Community One bot can be straightforward once you know the workflow. In this guide, you’ll set up the bot with Spark and Analytics, test your document in a test channel, deploy for automatic listening, and then configure Community Analytics so you get engagement and bot/botnet insights.
Sign up and activate the Community One bot (Spark + Analytics)
The process starts with signing up and providing your email address for community updates and the weekly community report.
Once the bot activates, you’ll see two main options:
- Spark: for responding to member questions using your provided document.
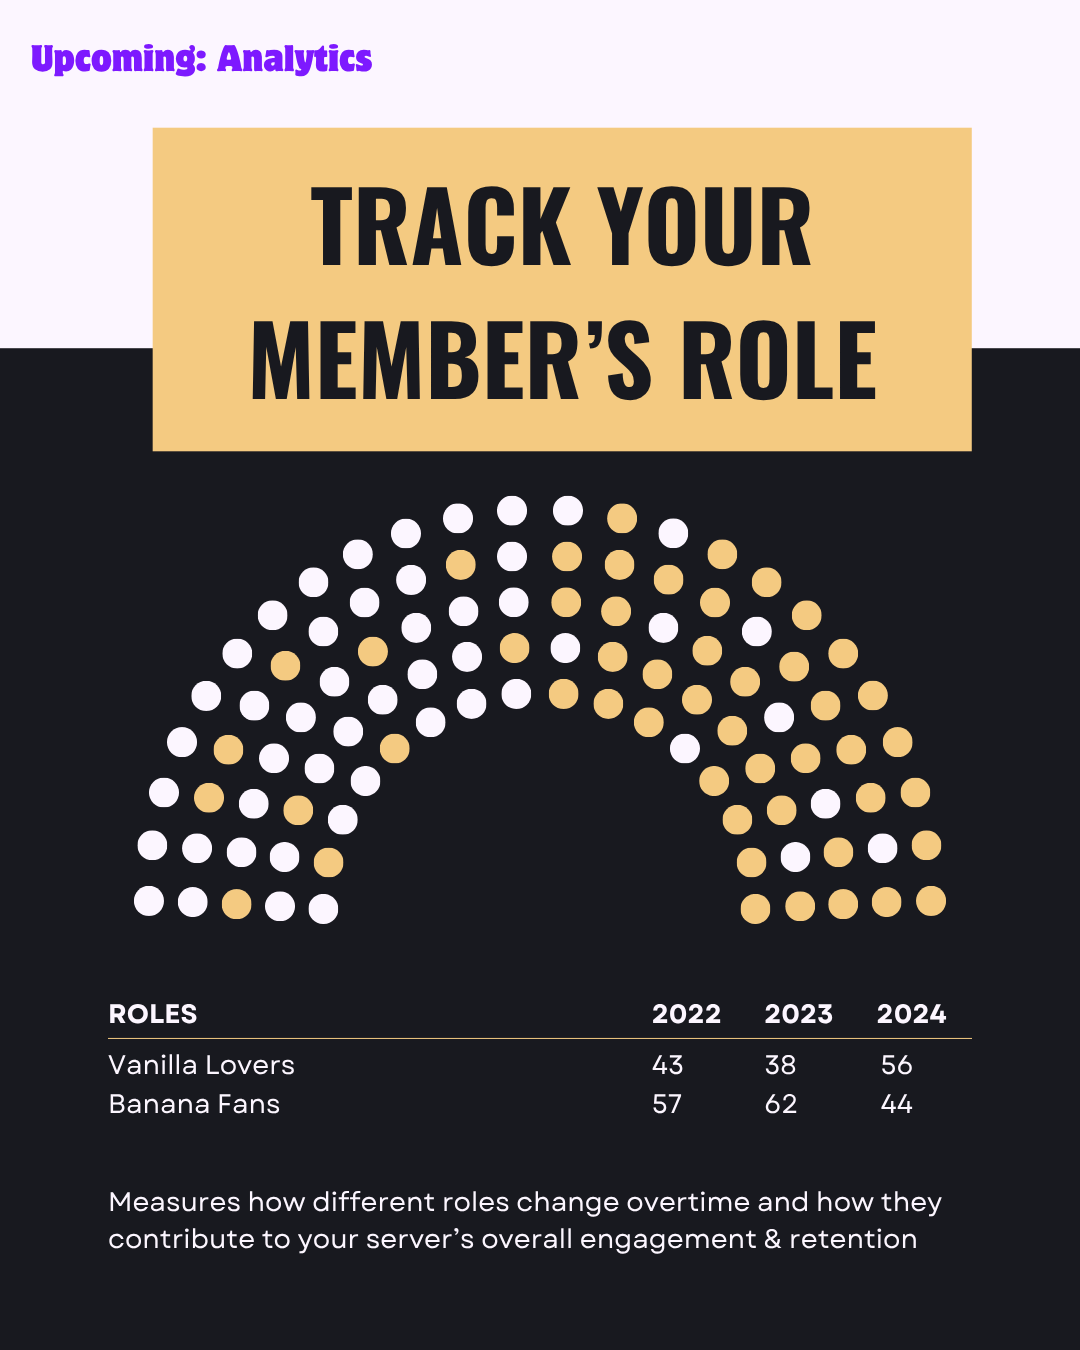
- Analytics: for tracking community engagement and additional safety and effectiveness signals.
The setup for Spark begins with an introduction and then three configuration steps.
What Spark does for community question responses
Spark is the part of the Community One bot that helps your community. It answers members’ questions based on the document you provide.
During Spark configuration, you follow the guided steps that prepare the bot to use your document for community question responses.
What Analytics tracks: engagement, bot/botnet detection, marketing effectiveness
Analytics adds visibility beyond question answering. It is designed to provide insights including:
- Engagement insights
- Bot and botnet detection
- Marketing effectiveness
After activating Analytics, you’ll later complete a setup that allows the system to track the channels you care about.
Test your document with the Spark test command (use the test channel)
Before deploying, you should test your document.
The workflow described in the video is:
1. Use the Spark test command.
2. Attach a .txt file for the document you want the bot to use.
3. Keep the document size around the ~2000-word range.
4. In the test channel, ask what the document is about to confirm the bot responds correctly.
This lets you verify that Spark is using your content as expected before enabling automatic listening.
Deploy with Spark and Spark deploy (automatic listening channel)
After testing confirms your document works, you deploy.
You use Spark and “deploy” to move from testing to live behavior.
Deployment differs from testing because you choose a channel for automatic listening. Instead of using a dedicated test channel to validate responses, deployment enables the bot to monitor the selected channel automatically.
Set up Community Analytics, including moderator tracking, and get the dashboard email
Once Spark is tested and deployed, configure Community Analytics.
In the video, the Analytics setup includes:
1. Open Analytics.
2. Complete a two-step setup for tracking channels.
3. Enable moderator tracking as part of what Analytics monitors.
After the setup is complete, the system generates a dashboard and emails you when the dashboard is ready.
Conclusion
To set up the Community One bot successfully, start by activating Spark and Analytics after signup. Configure Spark, test your .txt document using the Spark test command in the test channel, then deploy using Spark deploy with an automatic listening channel. Finally, set up Community Analytics (including moderator tracking) so you receive the engagement and detection dashboard via email when it’s ready.