Setting up Spark agents helps you automate responses across channels while keeping behavior consistent. This guide walks through the exact configuration steps covered in the video transcript: channels, response modes, prompts and rules, safety and compliance, and primary agent onboarding for private channels.
How to Add and Configure an Agent in Spark
- Go to the Spark dashboard.
- Open Spark chat.
- Click Add Agent.
When you set up an agent, you can create multiple agents for different purposes, such as separating testing from production.
At a minimum, the video notes that the required setup is:
- Tell Spark which channels the agent should be active on.
- Choose an appropriate response mode (covered next).
Set Response Mode and Channel Activation
Before configuring how the agent writes, configure where it runs.
Choose the channels the agent is active on
Spark lets you specify the channels the agent can participate in. This ensures you only automate where you want the agent to respond.
Pick a response mode
The transcript describes response mode choices like:
- Reply to every message.
- Reply only when a question is unanswered.
Choose the mode that fits your workflow. If your goal is to reduce noise, “only when unanswered” is a common fit; if you want continuous coverage, “every message” is the more direct approach.
Customize Conversation Style, Response Length, and Rules
After you select channels and response mode, you can further tune how the agent communicates and how it behaves.
Set the conversation style
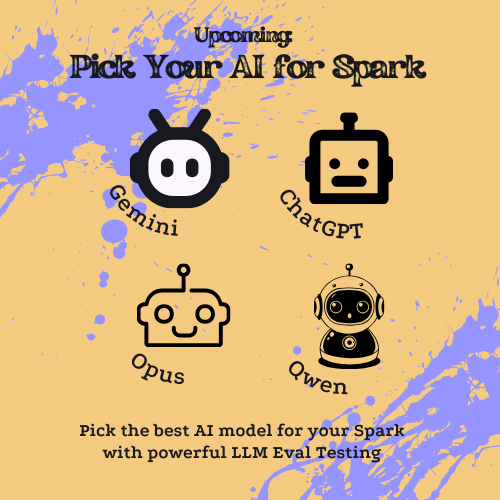
For Gemini-based agents, the transcript lists conversation style options such as:
- funny
- kind
- casual
- “a friend”
Pick the style that matches how you want the agent to sound.
Control response length
Spark supports controlling how long answers are:
- three sentences
- five sentences
- AI-determined response length
The key idea from the video is that you can explicitly set the response length to keep outputs consistent.
Add guidance rules for consistency
The transcript recommends adding guidance so the agent’s output matches the user’s input. For example, you can instruct the agent that shorter inputs should receive shorter answers.
Add custom prompt rules (including human handoff)
A custom prompt lets you specify rules the agent should follow. The video specifically mentions rules such as:
- when the bot should ask for human help
This is where you can align agent behavior with your operational needs.
Add rule-based, action-driven behaviors
The video also covers action-driven rules—behaviors triggered by what the agent detects. One example described:
- If the bot thinks someone is a spammer, it should gently alert everyone that a spam message was detected.
You can also use action-driven guidance to direct users to specific resources when they ask relevant questions.
Safety, Compliance, and Disclaimer Placement
Spark agent setup should include safety and compliance configuration.
Add a bot disclaimer
The transcript describes adding a disclaimer message such as an “I’m a bot” notice.
Configure where the disclaimer appears
A key best practice mentioned in the video is disclaimer placement:
- Show the disclaimer only at the very beginning of the conversation.
This keeps the user informed without repeatedly showing the disclaimer throughout every message.
Rely on built-in guard rails
The video emphasizes using built-in guard rails to prevent users from trying to:
- trick the bot into tagging everyone
- repeat unauthorized URLs
If you’re configuring safety, the transcript’s guidance is to combine your disclaimer with these built-in protections.
Primary Agent Setup for Private-Channel Onboarding
If you’re using multiple agents, the transcript recommends selecting a primary agent and enabling auto onboarding in private channels.
When to use a primary agent
The idea is to provide consistent onboarding for new users in private conversations by designating one agent as the primary onboarding experience.
Configure private-channel greeting and onboarding behavior
The video explains the primary agent setup flow for private channels:
- Open private-channel onboarding settings.
- Configure the primary agent’s private-channel greeting.
- Configure auto-delete behavior.
- Save and manage your agents in the Agent section.
The goal is that when a user opens a private channel, the system can greet the user using your configured onboarding behavior.
Conclusion
Setting up Spark agents is a structured process: create the agent from Spark chat → Add Agent, select active channels, choose a response mode, then refine behavior with a custom prompt, conversation style, response length, and action-driven rules. Finally, add safety and compliance via an “I’m a bot” disclaimer placed at the start of the conversation, and—when using multiple agents—configure your primary agent for consistent private-channel onboarding.